Estella informal assessment
For my informal Estella assessment I had an hour and a half to create the hair and makeup for my own interpretation of Estella. I wrote a step by step tutorial with the list of equipment need for both the hair and the makeup and also create hair sketch with the different techniques I wanted to incorporate into my design and a face chart with the list of products needed down the left hand side , this acted as my guideline .
Estella makeup


I started my assessment by creating the makeup for my Estella design due to being quite confident with the makeup and wanting to spend more time on making sure the hair was to perfection.
Firstly using a light coloured foundation and my illamasqua skin base mixed together I applied the product to my partners face neck and ears which I then blended into the face with my buffer brush in order to give my partner a pale complexion.
Then I applied a summer tan from my glamour glow pallet to the convex areas of the face.I then used the blush mauve from the glamour glow pallet to act as a highlighter and bring out the lighter areas of the face.
Next I applied a pink colour from my lip pallet to the lips using my kryolan lip brush
Next I applied a white from my kryolan eye shadow pallet to the eyelids and just under the brows.
In order to bring out the eyes slightly I then used caraway a light brown colour from my kryolan eye shadow pallet to the eye sockets.
Finally I applied a minimal amount of mascara to the lashes to slightly bring out the eyes.
At first I wasn't too keen on the outcome of the makeup I felt the foundation appeared quite thick and by using the summer tan made my partner appear quite bronze not fitting the typical style of Victorian makeup correctly. However once I had taken the photographs of the makeup on the digital camera a=under professional lighting I started to like the outcome of the makeup more and felt the makeup looked quite subtle fitting the typical Victorian style of makeup.
Estella Hair
 The main thing I had to take into consideration in order for my hair design to work was making sure each section was neat and precise, and making sure the centre parting was prominent.
Firstly I started by creating the centre parting using my pin tail comb and mirror to assess whether the parting was exactly in the middle. In order for the hair to appear more sleek I applied a small amount of mousse to the front of the hair this helped to make the centre parting appear more prominent.
Once the parting was in the middle I then used my pin tail comb and sectioning clips to create three sections two smaller sections either side of the head and one larger section with the remaining piece of hair.
When the hair had been sectioned I then started with the larger section using my hairbrush and hair tie to create a high ponytail. Once the hair was secured into a ponytail I applied hairspray to any loose hairs and bumps to make the hair appear sleek and tidy.
 Next I sectioned the ponytail into four using my pintail comb the first section I created a plait which would be situated around the bun.
The three remaining sections I applied plenty of hairspray to in order to make it easier for me to roll the hair and secure in place with several hair pins. Which then created an imperfect Victorian style of bun.
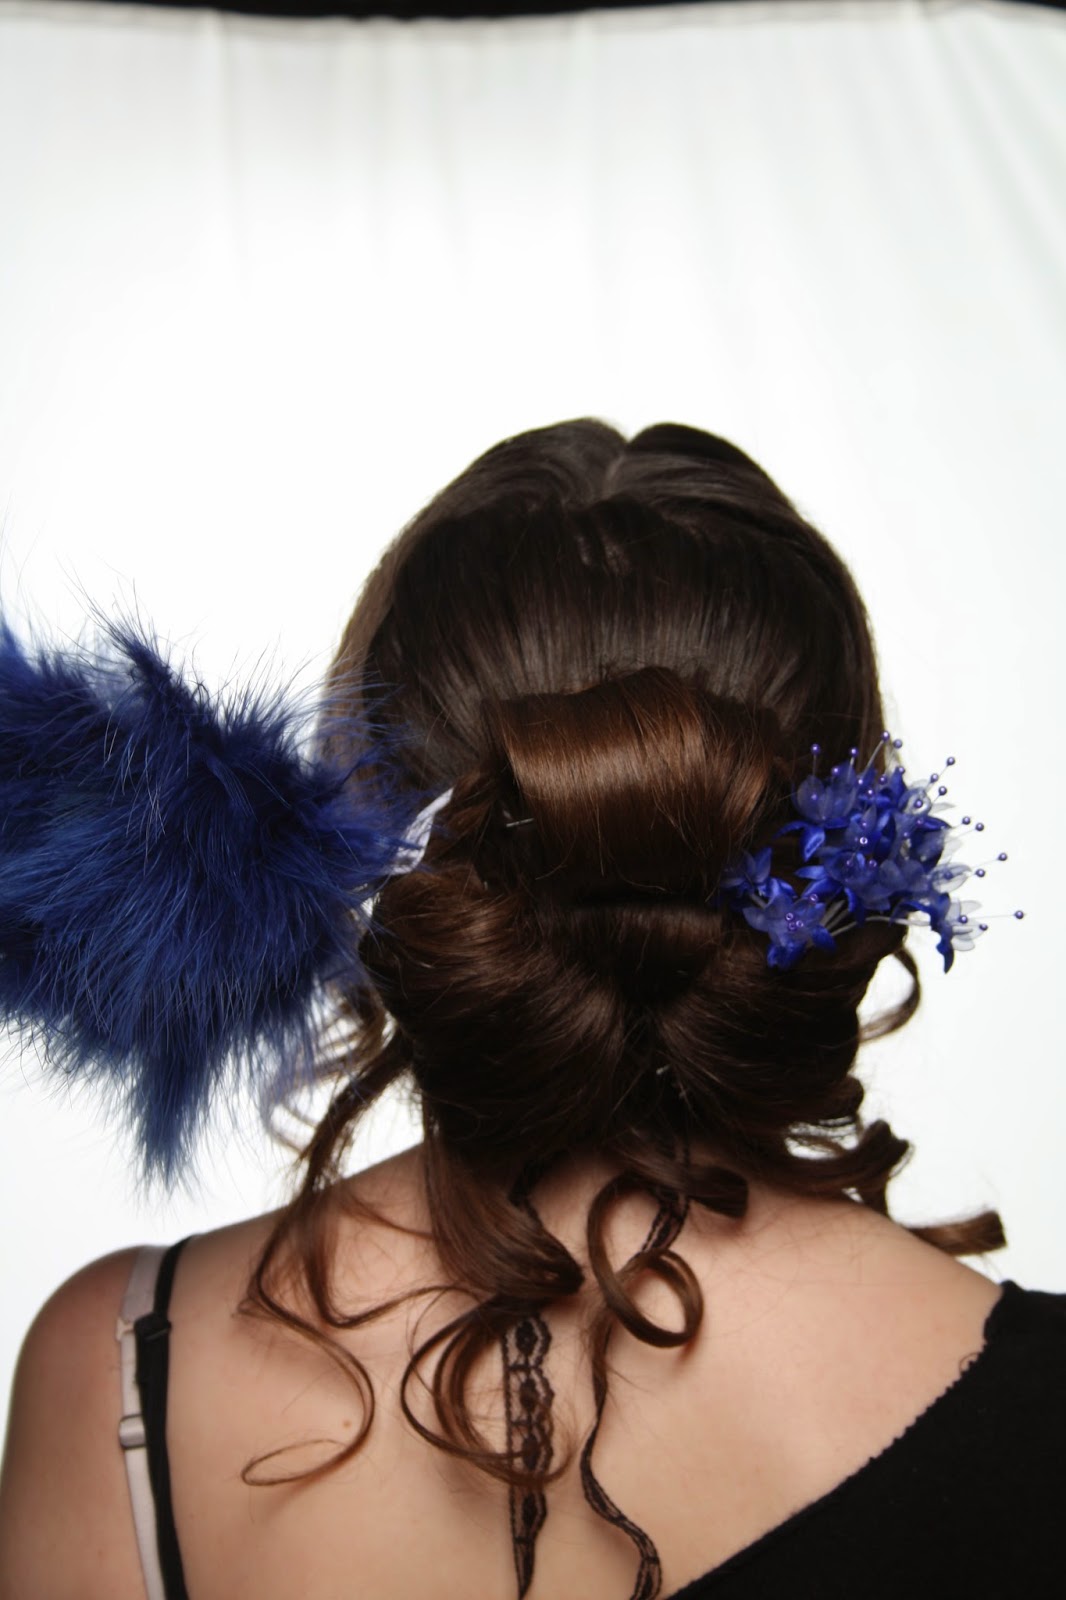
Next with the two smaller sections I applied the curlers to the hair to create curls which were then situated around the bun and secured in place with several hair pins.
Due to my partner having a fringe which was slightly outgrown I used the shorter pieces of hair to curl and create the same amount of ringlets on either side of the hair, which I then applied hairspray to in order to avoid the curls from dropping significantly.
Finally I applied decoration to the hair situating flowers and feather around the bun.
Overall I was quite happy with the outcome of my design I felt it looked much neater in comparison to my first attempt at the hair design in the previous practice lesson, however after taking advise from Helen in the technical lesson on how to make the Victorian style bun neater and creating prominent sections with the pin tail comb I felt I was more confident on how to create my design and was much happier with the outcome.
The only thing I was unhappy with was when situating the flowers and the feathers into the hair it was difficult t hide the sticks which were keeping the decorations together .
 Here is photograph of my face chart which I used as a guideline in my assessment in order to create my Estella makeup, I listed the products and shades of makeup needed down the side of the face chart in order to recreate the exact makeup as I practiced in my own time .
 Here is a sketch of the front and the back of my Estella design . The Apollo knot was a hairstyle which I thought wold work well with my Estella interpretation and therefore I sketched out the different techniques incorporated in the design.
No comments:
Post a Comment